

Troubleshoot your Frigidaire refrigerator with our step-by-step guide. Discover why your fridge isn’t getting cold and find easy solutions for thermostats, start relays, dirty coils, and more. DIY repairs to save your food!
If your Frigidaire refrigerator has stopped cooling, you can often fix the issue yourself without a service call. Here is a quick fix checklist ranging from simple maintenance to common part resets.
Quick Fix Checklist for Frigidaire Fridge not Cooling
The “10-Minute” Essentials
Before checking internal components, ensure these basic factors aren’t the cause:
- Check the Vents: Ensure food containers aren’t blocking the air vents at the back of the fridge or freezer. Overstuffing (especially in the freezer) can cut off airflow to the refrigerator section.
- Inspect the Door Seal: A loose or dirty gasket allows cold air to escape. Clean the seal with warm, soapy water. Use the “Dollar Bill Test”: close the door on a dollar bill; if it pulls out with no resistance, the seal is bad.
- Verify Power & Settings: Ensure the unit is on a dedicated 115/120V outlet and that the settings are at the factory defaults (37°F for fridge / 0°F for freezer). If you’ve just installed the fridge or added a lot of food, wait 24 hours for temperatures to stabilize.
Phase 2: The Reset & Maintenance Fixes
Many Frigidaire cooling issues are caused by electronic glitches or dust buildup.
- Perform a Hard Reset: Unplug the refrigerator or flip the circuit breaker for 5 to 10 minutes. This allows the control board to discharge residual power and recalibrate.
- Clean the Condenser Coils: If the coils (located at the bottom front behind the grille or on the back) are covered in dust or pet hair, the fridge can’t release heat. Use a condenser coil brush or a vacuum to clean them.
Phase 3: Advanced Troubleshooting
If the fridge is still warm but the freezer is cold, the problem is likely air circulation:
- Listen for the Fans: You should hear the evaporator fan (inside the freezer) and the condenser fan (near the compressor). If you hear a chirping or squealing noise, or if the fan isn’t spinning at all, the motor likely needs replacement.
- Check for Frost Buildup: If you see heavy ice on the back wall of the freezer, your defrost system has failed. You can temporarily fix this by manually defrosting the unit (unplugging it for 24 hours with the doors open), but you will eventually need to replace the defrost heater or timer.
- Test the Start Relay: If the fridge is silent and you hear a periodic “click” near the floor, the compressor start relay is likely burnt out. This is a common, inexpensive DIY part to replace.
Faulty Evaporator Fan Motor
The evaporator in your fridge is what is largely responsible for actually cooling your fridge. After the refrigerant goes through the condenser and becomes a liquid, it is then sent to the evaporator.

As the refrigerant makes its way through the evaporator, it turns back into a gas through evaporation. As the refrigerant evaporates, it pulls heat out of the air in the fridge.
The purpose of the evaporator fan is to move the cold air generated by the evaporator throughout the interior of the fridge.
Why It Fails:
Your evaporator fan is powered by an electric motor, same as the condenser fan. Like the condenser fan, the evaporator fan can fail through wear and tear, or from the fan blades getting clogged with dirt and debris.
How to Fix It:
Again, it’s not really possible to fix a broken evaporator fan motor, and you’ll have to replace yours if it has indeed stopped working. Of course, you should test it before replacing it.

Testing your evaporator fan motor is the same procedure as testing your condenser fan motor. Look for anything that has clogged the fan blades, turn the blades by hand to determine if the motor has seized up, and use a multimeter to find out if there is an electrical fault in the motor.
Broken Temperature Thermostat
The thermostat is your fridge is essentially a switch for your fridge’s various components. It monitors the temperature inside the fridge and tells the compressor and other components to turn on or off depending on what the temperature is.


Why It Fails:
The thermostat is an electrical part, so the most common causes of failure are if the wiring to the thermostat gets damaged or if part of the contact assembly inside the thermostat breaks.
Related: 4 Reasons Why Frigidaire Refrigerator Has No Power

The thermostat uses a small tube containing gas to measure the temperature. As the temperature in the fridge changes, so does the pressure inside the tube. The thermostat detects these pressure changes and uses them to approximately calculate the temperature in the fridge.
If this tube develops a leak and loses all of its pressure, the thermostat essentially gets tricked into thinking the fridge is already cool and will therefore fail to switch on the fridge’s other components.
How to Fix It:
To figure out if your thermostat has stopped working:
- Open up your fridge and locate it.
- Then, rotate the thermostat from its lowest setting to its highest; you should hear it make a click at some point.
- If you don’t hear a click, there’s a good chance it’s busted.
- If you fail to hear a click, use a multimeter to test the thermostat’s continuity.
- If it shows no continuity, replace the thermostat.
Faulty Control Board
Your fridge contains at least one control board, which is what ultimately controls all the components of your fridge. The control board keeps all of your fridge’s components connected and allows them to communicate with each other.

Why It Fails:
Control boards can fail if they come into contact with excessive heat or moisture, and they can also be damaged due to errors in the manufacturing process.
How to Fix It:
If your control board is broken, it will need to be replaced. However, you should make sure to test out all the other components of your fridge first before replacing your control board, as this is one of the less likely fridge components to fail.
Dirty Condenser Coils
As you may know, fridges keep themselves cool through the use of refrigerant. The refrigerant is circulated through the fridge within a closed cycle, where it is used to draw as much heat as possible out of the air in the fridge.

When the refrigerant begins its cycle, it takes the form of a low-pressure gas. For the refrigerant to properly do its job, however, it needs to be converted to a high-pressure liquid. This is where the condenser comes in.
Related: How to Clean Condenser Coils On a Whirlpool Refrigerator
As the gaseous refrigerant moves through the condenser coils, it turns back into a liquid, thanks to the low temperature and high pressure inside the condenser.
Why It Fails:
As we’ve just mentioned, the condenser uses low temperatures and high pressures to turn the refrigerant from a gas to a liquid. In order to do this, however, the condenser coils need to be in contact with cool air.
Over time, dirt and dust can build up over the outside of the condenser coils. When this happens, the coils essentially become insulated and are unable to dissipate heat from the refrigerant properly.
This causes the fridge to work a lot harder to cool the refrigerant, which makes the fridge far less energy-efficient. If enough dust builds up over the coils, the fridge won’t be able to properly cool itself at all.
How to Fix It:
Fortunately, dealing with dirty condenser coils is a pretty easy fix. All you have to do is remove the grille on your fridge that covers the condenser and use a brush and a vacuum cleaner to remove the dust from the coils.

Don’t forget to unplug your fridge before cleaning it; since you’ll be getting inside the guts of your fridge, you don’t want it to be powered on while you’re working on it. The entire process of cleaning your condenser coils shouldn’t take longer than 20 minutes or so at the absolute most, so there’s no need to worry about your food spoiling.

The location of your condenser coils may vary. They may be located at the base of your fridge near the front, or they might be behind the back panel of your fridge. Depending on where they are, you may have to pull your fridge out from the wall to get at the coils.
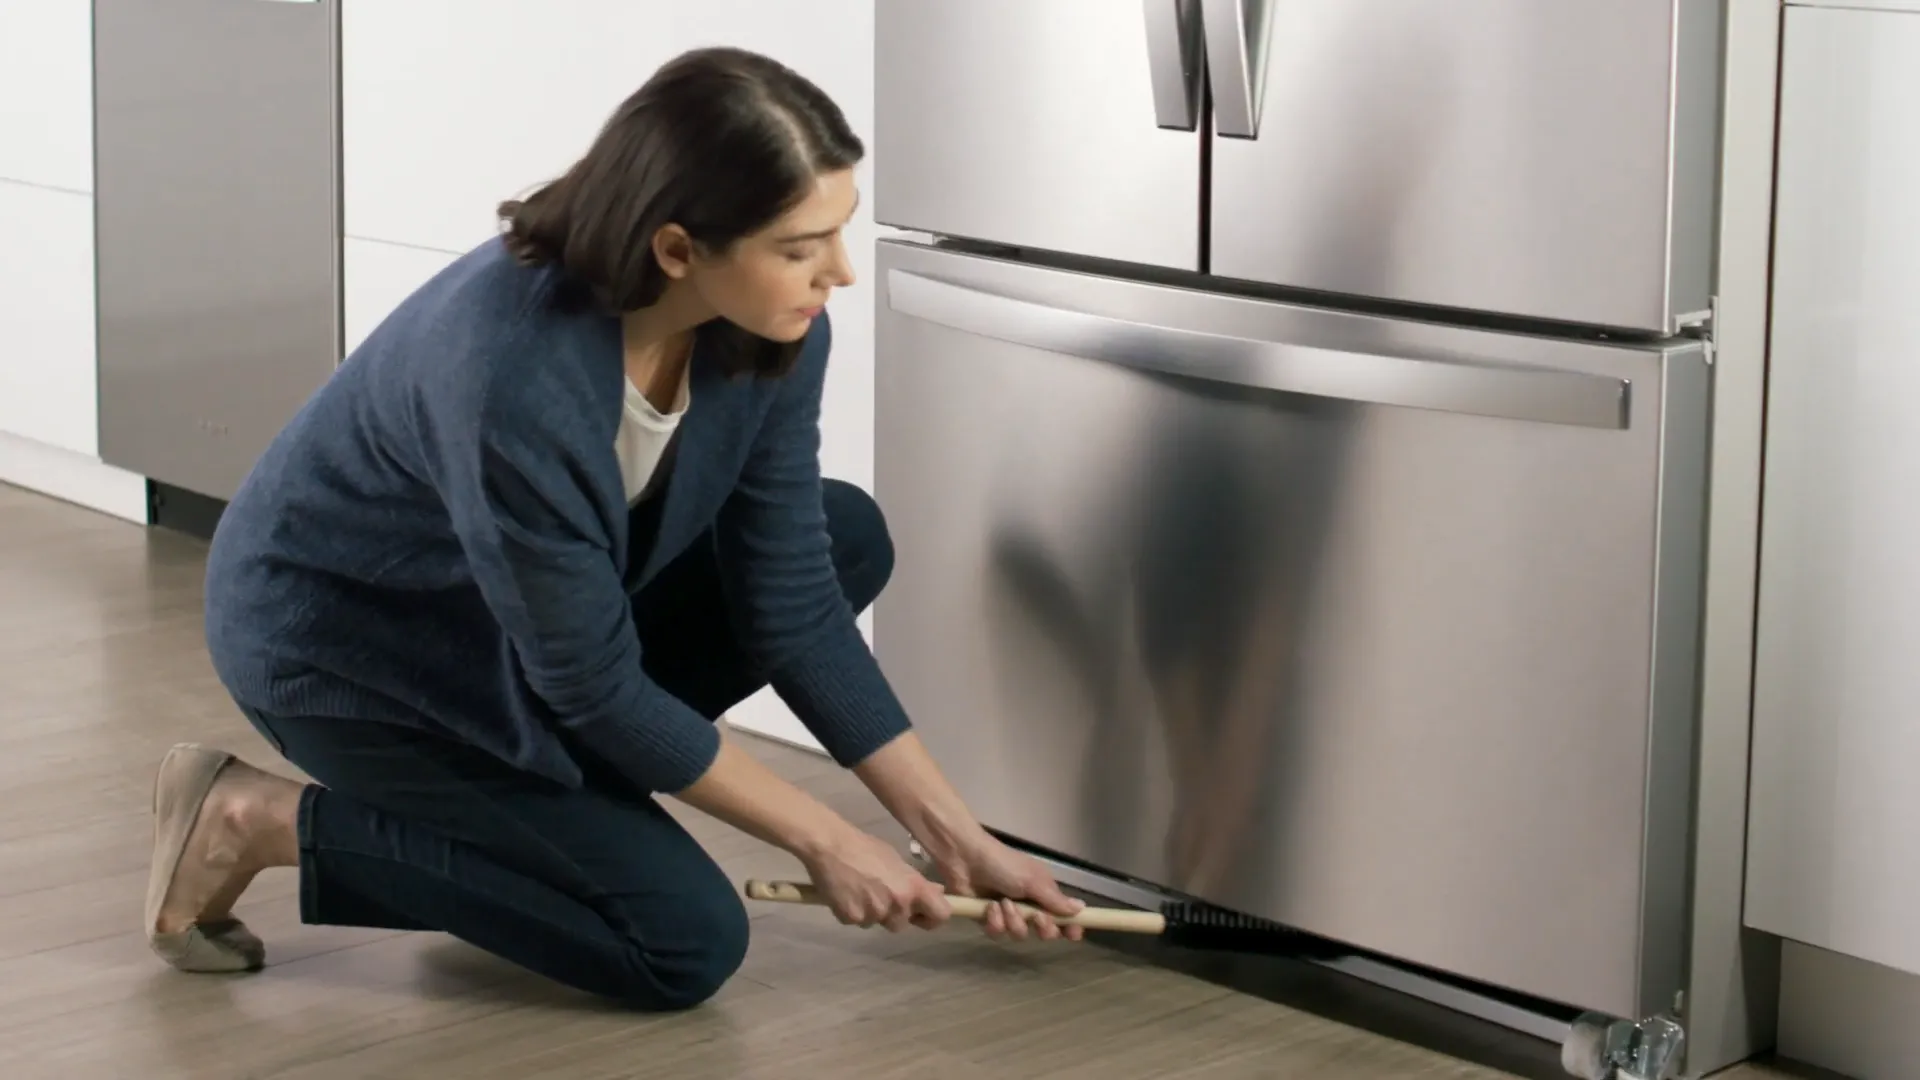
For actually cleaning the coils, you might want to use a condenser cleaning brush. You can buy such brushes from hardware stores and appliance manufacturers. These brushes are designed to reach into tight spaces, allowing you to clean all the nooks and crannies of your condenser coils, and the bristles are fairly soft to prevent them from damaging the coils.
Faulty Condenser Fan Motor
The condenser sometimes needs a little help cooling off the refrigerant inside it, and that’s where the condenser fan comes in.


This fan helps move more air over the condenser fins, which allows the refrigerant to cool off a bit more quickly. If the fan isn’t working, there might not be enough airflow over the condenser to properly cool the refrigerant.

Why It Fails:
Obviously, this fan is powered by an electric motor, and this motor can potentially wear out over time. This may happen due to corrosion, or if the motor ever operates at too high of a voltage level.
How to Fix It:
If your condenser fan motor is broken, you’ll need to replace it, but before you do that you should determine if there’s another issue that is messing with the motor.
- First, check to see if there’s anything that could be obstructing the fan blade from turning. If not, spin the blades of the fan by hand and see if the motor is locked up. If it is, replace it.
- If the fan blades are free of debris and the fan spins freely, use a multimeter to check the continuity of the motor. If the motor fails the continuity test, you’ll need to have it replaced.
Broken Compressor
The compressor in your fridge is essentially a pump that moves the refrigerant throughout the cooling system.
Related: Why is Fridge Compressor Running But Not Cooling?

Why It Fails:
Compressors don’t really fail that often, but they can fail for a few reasons. If there’s too much or too little refrigerant within the system, it can put undue stress on the compressor and cause it to wear out. If air, moisture, or other debris gets inside the compressor, this can also damage it.
How to Fix It:
Use a multimeter to test your compressor. If the multimeter shows that there is an open circuit, the compressor will have to be replaced. Because replacing the compressor involves flushing the refrigerant from the system, only a licensed technician can do this.
Broken Start Relay
The start relay in your fridge is a component that helps your compressor start. Without the start relay, the compressor wouldn’t have enough power to get itself running.

Why It Fails:
The start relay can burn out if it is ever exposed to a voltage surge.
How to Fix It:
If your start relay is broken, it’ll need to be replaced. As always, test the relay with a multimeter first to see if it has any continuity. If you also notice that your start relay smells burnt, this is also a sign that it should be replaced.
Broken Start relay Capacitor
Like the start relay, the start capacitor is another component that helps get your compressor started.

Why It Fails:
Start capacitors usually fail when they overheat. If the fridge cycles on and off frequently, this can cause the capacitor to overheat because it’s being worked too hard.
How to Fix It:
Test the capacitor with a multimeter, and if it’s broken, have it replaced.
Broken Thermistor (temperature Sensor)
The thermistor is another component of a fridge that helps it stay in an acceptable temperature range. It’s an electrical resistor that is sensitive to changes in temperature, which makes it a thermal resistor; hence the name “thermistor”.

Why It Fails:
Thermistors can fail if some of the internal components of the thermistor become separated from one another. This can happen due to overheating, mishandling of the resistor, or just old age.
How to Fix It:
Test your thermistor with a multimeter. You should see its resistance change as the temperature of the fridge changes. If you don’t see any changes in the resistance, replace the thermistor.
Frequently asked questions
Frigidaire Diagnostic Mode: How to Run a Self-Test
If the basic fixes don’t work, you can force the fridge to tell you what’s wrong by entering Diagnostic Mode:
- Press and hold the Freezer Temperature Up and Down buttons simultaneously.
- Release them, then quickly press both buttons again twice.
- The display will show active error codes (like H1 or SY EF) which you can look up in our full guide to identify the specific failing part.
Where Are The Evaporator Coils On A Frigidaire Refrigerator?
The evaporator coils are concealed behind the rear wall of your freezer compartment. You’ll need to remove several screws to access the coils before removing the panel itself.
How do you defrost a Frigidaire Fridge?
To perform a manual defrost on your Frigidaire refrigerator, you will need to clear the unit of all food and disconnect it from power. This process typically takes 24 to 48 hours to ensure all internal ice—especially the buildup hidden behind the back panel—has completely melted.
Step-by-Step Manual Defrost Instructions
- Clear the Unit: Remove all food items. Since this process takes at least a full day, you will need an alternative cold storage solution or a cooler with ice.
- Disconnect Power: Unplug the refrigerator from the wall outlet. Do not simply turn off the thermostat, as some components may remain energized.
- Prepare for Water: Place thick towels at the base of the fridge and inside the freezer floor. As the ice melts, water may leak onto your floor if the internal drain pan overflows.
- Keep Doors Open: Prop both the freezer and refrigerator doors wide open. This allows room-temperature air to circulate, which is the safest way to melt the ice.
- Clean and Dry: Once all ice is gone, wipe down the interior walls with a mixture of baking soda and warm water to remove odors and moisture.
- Restore Power: Plug the unit back in and wait at least 24 hours for it to reach the proper operating temperature ($0^\circ\text{C}$ for the freezer and $37^\circ\text{C}$ for the fridge) before restocking food.
Warning: Never use a hair dryer, space heater, or sharp tools (like a knife) to speed up the process. Excessive heat can warp the plastic liner, and sharp tools can puncture the evaporator coils, causing an expensive and permanent refrigerant leak.
How Long Does it Take?
- Standard Defrost: Usually 24 hours.
- Heavy Ice Buildup: If the vents were completely blocked or the door was left ajar for days, it can take up to 48 hours for the ice deep inside the insulation to melt.
If your fridge requires frequent manual defrosting, your automatic defrost system (which includes the defrost heater, timer, and thermostat) is likely failing.
Connect with an Appliance Repair Tech
Click here to use the chatbox to speak with one of our technicians.
No in-home service calls. No appointments.
I have 18 Cube top mount frigidaire Refrigerator. Both of the fans are working, but neither the fridge or freezer is cooling. Thoughts on a starting pont.
I have a fridge not cooling enough. I opened back panel of freezer it wasn’t iced up but it has a hole burned in the back middle right side. It’s a Frigidaire with the top freezer. It looks like two prongs where it burned a hole. Not sure how to get to that part of it